Postgres
Creating a data generator for Postgres. You will build a Docker image that will be able to populate data in Postgres for the tables you configure.
Scala Example | Java Example | YAML Example
Requirements
- 10 minutes
- Git
- Gradle
- Docker
Get Started
First, we will clone the data-caterer repo which will already have the base project setup required.
If you already have a Postgres instance running, you can skip to this step.
Postgres Setup
Next, let's make sure you have an instance of Postgres up and running in your local environment. This will make it easy for us to iterate and check our changes.
Permissions
Let's make a new user that has the required permissions needed to push data into the Postgres tables we want.
Following permissions are required when enabling configuration.enableGeneratePlanAndTasks(true) as it will gather
metadata information about tables and fields from the below tables.
SQL Permission Statements
Plan Setup
Create a file depending on which interface you want to use.
- Java:
src/main/java/io/github/datacatering/plan/MyPostgresJavaPlan.java - Scala:
src/main/scala/io/github/datacatering/plan/MyPostgresPlan.scala - YAML:
docker/data/custom/plan/my-postgres.yaml
Create a unified YAML file docker/data/custom/unified/my-postgres.yaml:
- Click on
Connectiontowards the top of the screen - For connection name, set to
my_postgres - Click on
Select data source type..and selectPostgres - Set URL as
jdbc:postgresql://localhost:5432/customer - Set username as
postgres - Set password as
postgres- Optionally, we could set a schema and table name but if you have more than schema or table, you would have to create new connection for each
- Click on
Create - You should see your connection
my_postgresshow underExisting connections - Click on
Hometowards the top of the screen - Set plan name to
my_postgres_plan - Set task name to
postgres_task - Click on
Select data source..and selectmy_postgres
This class defines where we need to define all of our configurations for generating data. There are helper variables and methods defined to make it simple and easy to use.
Connection Configuration
Within our class, we can start by defining the connection properties to connect to Postgres.
var accountTask = postgres(
    "customer_postgres",                                    //name
    "jdbc:postgresql://host.docker.internal:5432/customer", //url
    "postgres",                                             //username
    "postgres",                                             //password
    Map.of()                                                //optional additional connection options
)
Additional options such as SSL configuration, etc can be found here.
val accountTask = postgres(
    "customer_postgres",                                    //name
    "jdbc:postgresql://host.docker.internal:5432/customer", //url
    "postgres",                                             //username
    "postgres",                                             //password
    Map()                                                   //optional additional connection options
)
Additional options such as SSL configuration, etc can be found here.
In a unified YAML file, connection is defined inline within the data source:
- We have already created the connection details in this step
Schema
Let's create a task for inserting data into the account.accounts and account.balances tables as
defined underdocker/data/sql/postgres/customer.cql. This table should already be setup for you if you followed this
step.
Trimming the connection details to work with the docker-compose Postgres, we have a base Postgres connection to define
the table and schema required. Let's define each field along with their corresponding data type. You will notice that
the text fields do not have a data type defined. This is because the default data type is StringType which
corresponds to text in Postgres.
{
var accountTask = postgres("customer_postgres", "jdbc:postgresql://host.docker.internal:5432/customer")
.table("account", "accounts")
.fields(
field().name("account_number"),
field().name("amount").type(DoubleType.instance()),
field().name("created_by"),
field().name("created_by_fixed_length"),
field().name("open_timestamp").type(TimestampType.instance()),
field().name("account_status")
);
}
val accountTask = postgres("customer_postgres", "jdbc:postgresql://host.docker.internal:5432/customer")
.table("account", "accounts")
.fields(
field.name("account_number"),
field.name("amount").`type`(DoubleType),
field.name("created_by"),
field.name("created_by_fixed_length"),
field.name("open_timestamp").`type`(TimestampType),
field.name("account_status")
)
In a unified YAML file:
dataSources:
  - name: "customer_postgres"
    connection:
      type: "postgres"
      options:
        url: "jdbc:postgresql://host.docker.internal:5432/customer"
        user: "postgres"
        password: "postgres"
steps:
- name: "accounts"
options:
dbtable: "account.accounts"
fields:
- name: "account_number"
- name: "amount"
type: "double"
- name: "created_by"
- name: "created_by_fixed_length"
- name: "open_timestamp"
type: "timestamp"
- name: "account_status"
- Click on
Generationand tick theManualcheckbox - Click on
+ Field - Add name as
account_number - Click on
Select data typeand selectstring - Click on
+ Fieldand add name asamount - Click on
Select data typeand selectdouble - Click on
+ Fieldand add name ascreated_by - Click on
Select data typeand selectstring - Click on
+ Fieldand add name ascreated_by_fixed_length - Click on
Select data typeand selectstring - Click on
+ Fieldand add name asopen_timestamp - Click on
Select data typeand selecttimestamp - Click on
+ Fieldand add name asaccount_status - Click on
Select data typeand selectstring
Depending on how you want to define the schema, follow the below:
- Manual schema guide
- Automatically detect schema from the data source, you can simply
enable
configuration.enableGeneratePlanAndTasks(true) - Automatically detect schema from a metadata source
Additional Configurations
At the end of data generation, a report gets generated that summarises the actions it performed. We can control the output folder of that report via configurations. We will also enable the unique check to ensure any unique fields will have unique values generated.
In a unified YAML file, add a config section:
- Click on
Advanced Configurationtowards the bottom of the screen - Click on
Flagand click onUnique Check - Click on
Folderand enter/tmp/data-caterer/reportforGenerated Reports Folder Path
Execute
To tell Data Caterer that we want to run with the configurations along with the accountTask, we have to call execute
. So our full plan run will look like this.
public class MyPostgresJavaPlan extends PlanRun {
{
var accountTask = postgres("customer_postgres", "jdbc:postgresql://host.docker.internal:5432/customer")
.table("account", "accounts")
.fields(
field().name("account_number").regex("ACC[0-9]{8}").primaryKey(true),
field().name("amount").type(DoubleType.instance()).min(1).max(1000),
field().name("created_by").expression("#{Name.name}"),
field().name("created_by_fixed_length").sql("CASE WHEN account_status IN ('open', 'closed') THEN 'eod' ELSE 'event' END"),
field().name("open_timestamp").type(TimestampType.instance()).min(java.sql.Date.valueOf("2022-01-01")),
field().name("account_status").oneOf("open", "closed", "suspended", "pending")
);
var config = configuration()
        .generatedReportsFolderPath("/opt/app/data/report")
        .enableUniqueCheck(true);
execute(config, accountTask);
}
}
class MyPostgresPlan extends PlanRun {
val accountTask = postgres("customer_postgres", "jdbc:postgresql://host.docker.internal:5432/customer")
.table("account", "accounts")
.fields(
field.name("account_number").primaryKey(true),
field.name("amount").`type`(DoubleType).min(1).max(1000),
field.name("created_by").expression("#{Name.name}"),
field.name("created_by_fixed_length").sql("CASE WHEN account_status IN ('open', 'closed') THEN 'eod' ELSE 'event' END"),
field.name("open_timestamp").`type`(TimestampType).min(java.sql.Date.valueOf("2022-01-01")),
field.name("account_status").oneOf("open", "closed", "suspended", "pending")
)
val config = configuration
  .generatedReportsFolderPath("/opt/app/data/report")
  .enableUniqueCheck(true)
execute(config, accountTask)
}
No additional steps for YAML.
You can save your plan via the Save button at the top.
Run
Now we can run via the script ./run.sh that is in the top level directory of the data-caterer/example folder to run the
class we just
created.
- Click the button
Executeat the top - Progress updates will show in the bottom right corner
- Click on
Historyat the top - Check for your plan name and see the result summary
- Click on
Reporton the right side to see more details of what was executed
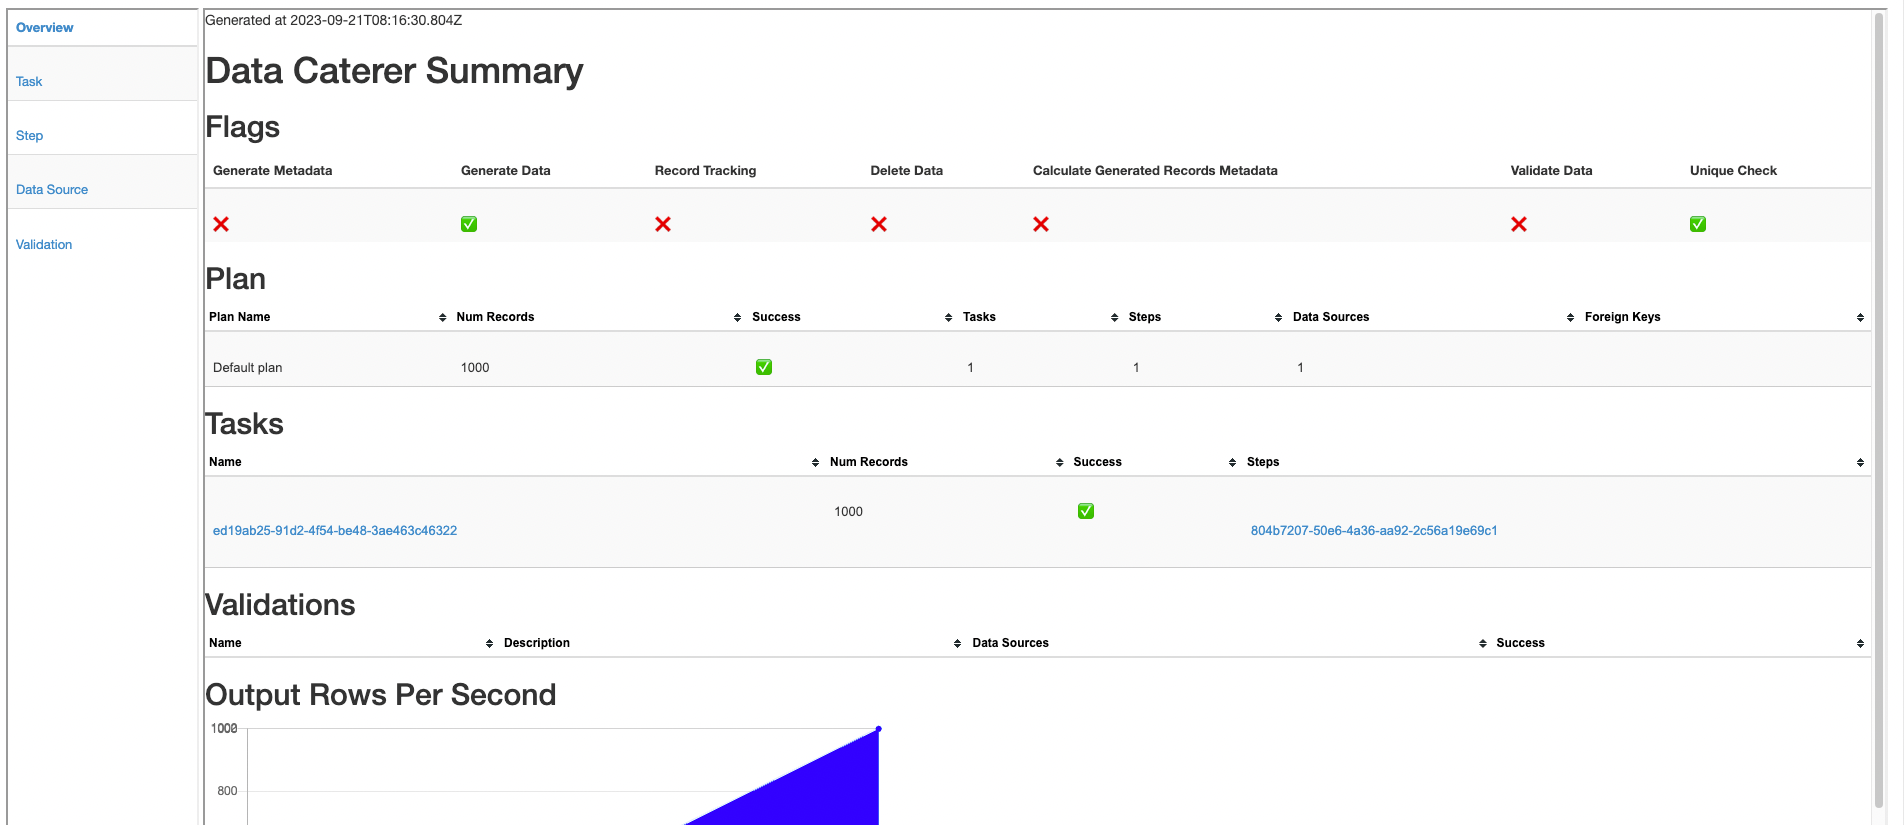
Your output should look like this.
 count
-------
   100
(1 row)

 id | account_number | account_status |     created_by      | created_by_fixed_length | customer_id_int | customer_id_smallint | customer_id_bigint | customer_id_decimal | customer_id_real | customer_id_double | open_date |     open_timestamp      | last_opened_time | payload_bytes
----+----------------+----------------+---------------------+-------------------------+-----------------+----------------------+--------------------+---------------------+------------------+--------------------+-----------+-------------------------+------------------+---------------
  1 | 0499572486     | closed         | Stewart Hartmann    | eod                     |             951 |                      |                    |                     |                  |                    |           | 2023-12-02 12:30:37.602 |                  |
  4 | 0777698075     | closed         | Shauna Huels        | eod                     |             225 |                      |                    |                     |                  |                    |           | 2023-08-07 01:25:32.732 |                  |
  2 | 1011209228     | suspended      | Miss Yu Torp        | event                   |             301 |                      |                    |                     |                  |                    |           | 2024-03-07 08:33:03.031 |                  |
  6 | 0759166208     | closed         | Mrs. Alesha Koelpin | eod                     |             778 |                      |                    |                     |                  |                    |           | 2024-04-18 13:23:43.861 |                  |
  5 | 1151247273     | closed         | Eugenio Corkery     | eod                     |             983 |                      |                    |                     |                  |                    |           | 2024-05-03 22:44:22.816 |                  |
  7 | 3909668884     | suspended      | Deandra Ratke       | event                   |             891 |                      |                    |                     |                  |                    |           | 2024-05-01 13:11:05.498 |                  |
  8 | 5396749742     | suspended      | Grant Moen          | event                   |              46 |                      |                    |                     |                  |                    |           | 2024-02-22 14:43:31.294 |                  |
  9 | 4269791821     | suspended      | Kenton Romaguera    | event                   |             735 |                      |                    |                     |                  |                    |           | 2024-05-16 16:40:55.781 |                  |
 10 | 6095315531     | closed         | Crystle Hintz       | eod                     |             279 |                      |                    |                     |                  |                    |           | 2024-02-18 07:40:21.088 |                  |
 11 | 6625684008     | open           | Miss Edelmira Rath  | eod                     |             200 |                      |                    |                     |                  |                    |           | 2024-05-12 17:17:55.86  |                  |
(10 rows)
Also check the HTML report, found at docker/sample/report/index.html, that gets generated to get an overview of what
was executed.
Validation
If you want to validate data from Postgres, follow the validation documentation found here to help guide you.