MySQL
Creating a data generator for MySQL. You will build a Docker image that will be able to populate data in MySQL for the tables you configure.
Requirements
- 10 minutes
- Git
- Gradle
- Docker
Get Started
First, we will clone the data-caterer-example repo which will already have the base project setup required.
If you already have a MySQL instance running, you can skip to this step.
MySQL Setup
Next, let's make sure you have an instance of MySQL up and running in your local environment. This will make it easy for us to iterate and check our changes.
Permissions
Let's make a new user that has the required permissions needed to push data into the MySQL tables we want.
Following permissions are required when enabling configuration.enableGeneratePlanAndTasks(true) as it will gather
metadata information about tables and fields from the below tables.
SQL Permission Statements
Plan Setup
Create a file depending on which interface you want to use.
- Java:
src/main/java/io/github/datacatering/plan/MySQLJavaPlan.java - Scala:
src/main/scala/io/github/datacatering/plan/MySQLPlan.scala - YAML:
docker/data/custom/plan/my-mysql.yaml
In docker/data/custom/plan/my-mysql.yaml:
- Click on
Connectiontowards the top of the screen - For connection name, set to
my_mysql - Click on
Select data source type..and selectMySQL - Set URL as
jdbc:mysql://localhost:3306/customer - Set username as
root - Set password as
root- Optionally, we could set a schema and table name but if you have more than schema or table, you would have to create new connection for each
- Click on
Create - You should see your connection
my_mysqlshow underExisting connections - Click on
Hometowards the top of the screen - Set plan name to
my_mysql_plan - Set task name to
mysql_task - Click on
Select data source..and selectmy_mysql
This class defines where we need to define all of our configurations for generating data. There are helper variables and methods defined to make it simple and easy to use.
Connection Configuration
Within our class, we can start by defining the connection properties to connect to MySQL.
var accountTask = mysql(
    "customer_mysql",                                   //name
    "jdbc:mysql://host.docker.internal:3306/customer",  //url
    "root",                                             //username
    "root",                                             //password
    Map.of()                                            //optional additional connection options
)
Additional options such as SSL configuration, etc can be found here.
val accountTask = mysql(
    "customer_mysql",                                   //name
    "jdbc:mysql://host.docker.internal:3306/customer",  //url
    "root",                                             //username
    "root",                                             //password
    Map()                                               //optional additional connection options
)
Additional options such as SSL configuration, etc can be found here.
In docker/data/custom/application.conf:
- We have already created the connection details in this step
Schema
Let's create a task for inserting data into the customer.accounts and customer.balances tables as
defined underdocker/data/sql/mysql/customer.cql. This table should already be setup for you if you followed this
step.
Trimming the connection details to work with the docker-compose MySQL, we have a base MySQL connection to define
the table and schema required. Let's define each field along with their corresponding data type. You will notice that
the text fields do not have a data type defined. This is because the default data type is StringType which
corresponds to text in MySQL.
{
    var accountTask = mysql("customer_mysql", "jdbc:mysql://host.docker.internal:3306/customer")
            .table("customer", "accounts")
            .fields(
                    field().name("account_number"),
                    field().name("amount").type(DoubleType.instance()),
                    field().name("created_by"),
                    field().name("created_by_fixed_length"),
                    field().name("open_timestamp").type(TimestampType.instance()),
                    field().name("account_status")
            );
}
val accountTask = mysql("customer_mysql", "jdbc:mysql://host.docker.internal:3306/customer")
  .table("customer", "accounts")
  .fields(
    field.name("account_number"),
    field.name("amount").`type`(DoubleType),
    field.name("created_by"),
    field.name("created_by_fixed_length"),
    field.name("open_timestamp").`type`(TimestampType),
    field.name("account_status")
  )
In docker/data/custom/task/mysql/mysql-task.yaml:
- Click on
Generationand tick theManualcheckbox - Click on
+ Field - Add name as
account_number - Click on
Select data typeand selectstring - Click on
+ Fieldand add name asamount - Click on
Select data typeand selectdouble - Click on
+ Fieldand add name ascreated_by - Click on
Select data typeand selectstring - Click on
+ Fieldand add name ascreated_by_fixed_length - Click on
Select data typeand selectstring - Click on
+ Fieldand add name asopen_timestamp - Click on
Select data typeand selecttimestamp - Click on
+ Fieldand add name asaccount_status - Click on
Select data typeand selectstring
Depending on how you want to define the schema, follow the below:
- Manual schema guide
- Automatically detect schema from the data source, you can simply
enable
configuration.enableGeneratePlanAndTasks(true) - Automatically detect schema from a metadata source
Additional Configurations
At the end of data generation, a report gets generated that summarises the actions it performed. We can control the output folder of that report via configurations. We will also enable the unique check to ensure any unique fields will have unique values generated.
In docker/data/custom/application.conf:
- Click on
Advanced Configurationtowards the bottom of the screen - Click on
Flagand click onUnique Check - Click on
Folderand enter/tmp/data-caterer/reportforGenerated Reports Folder Path
Execute
To tell Data Caterer that we want to run with the configurations along with the accountTask, we have to call execute
. So our full plan run will look like this.
public class MySQLJavaPlan extends PlanRun {
{
var accountTask = mysql("customer_mysql", "jdbc:mysql://host.docker.internal:3306/customer")
.table("customer", "accounts")
.fields(
field().name("account_number").regex("ACC[0-9]{8}").primaryKey(true),
field().name("amount").type(DoubleType.instance()).min(1).max(1000),
field().name("created_by").expression("#{Name.name}"),
field().name("created_by_fixed_length").sql("CASE WHEN account_status IN ('open', 'closed') THEN 'eod' ELSE 'event' END"),
field().name("open_timestamp").type(TimestampType.instance()).min(java.sql.Date.valueOf("2022-01-01")),
field().name("account_status").oneOf("open", "closed", "suspended", "pending")
);
var config = configuration()
        .generatedReportsFolderPath("/opt/app/data/report")
        .enableUniqueCheck(true);
execute(config, accountTask);
}
}
class MySQLPlan extends PlanRun {
val accountTask = mysql("customer_mysql", "jdbc:mysql://host.docker.internal:3306/customer")
.table("customer", "accounts")
.fields(
field.name("account_number").primaryKey(true),
field.name("amount").`type`(DoubleType).min(1).max(1000),
field.name("created_by").expression("#{Name.name}"),
field.name("created_by_fixed_length").sql("CASE WHEN account_status IN ('open', 'closed') THEN 'eod' ELSE 'event' END"),
field.name("open_timestamp").`type`(TimestampType).min(java.sql.Date.valueOf("2022-01-01")),
field.name("account_status").oneOf("open", "closed", "suspended", "pending")
)
val config = configuration
  .generatedReportsFolderPath("/opt/app/data/report")
  .enableUniqueCheck(true)
execute(config, accountTask)
}
No additional steps for YAML.
You can save your plan via the Save button at the top.
Run
Now we can run via the script ./run.sh that is in the top level directory of the data-caterer-example to run the
class we just
created.
- Click the button
Executeat the top - Progress updates will show in the bottom right corner
- Click on
Historyat the top - Check for your plan name and see the result summary
- Click on
Reporton the right side to see more details of what was executed
Your output should look like this.
COUNT(1)
10
id  account_number  account_status  created_by  created_by_fixed_length customer_id_int customer_id_smallint    customer_id_bigint  customer_id_decimal customer_id_real    customer_id_double  open_date   open_timestamp  last_opened_time    payload_bytes
1   0507581306  suspended   Pete Pouros event   510 NULL    NULL    NULL    NULL    NULL    NULL    2023-08-08 06:55:09 NULL    NULL
2   0998204877  pending Kraig Balistreri    event   987 NULL    NULL    NULL    NULL    NULL    NULL    2023-09-04 10:09:27 NULL    NULL
3   1491488574  pending Mrs. Ali DuBuque    event   43  NULL    NULL    NULL    NULL    NULL    NULL    2024-05-11 06:43:07 NULL    NULL
4   5209805789  suspended   Lorilee Gislason    event   975 NULL    NULL    NULL    NULL    NULL    NULL    2023-08-30 20:54:40 NULL    NULL
5   5901422604  closed  Elbert Johnston eod 369 NULL    NULL    NULL    NULL    NULL    NULL    2023-08-07 13:46:58 NULL    NULL
6   7930880350  pending Charlie McCullough  event   797 NULL    NULL    NULL    NULL    NULL    NULL    2024-02-05 15:16:46 NULL    NULL
7   8248715689  pending Mila Becker event   236 NULL    NULL    NULL    NULL    NULL    NULL    2024-06-07 08:51:29 NULL    NULL
8   8709384015  closed  Dinah Zemlak    eod 965 NULL    NULL    NULL    NULL    NULL    NULL    2024-01-14 20:58:51 NULL    NULL
9   9463221576  closed  Les Hettinger   eod 83  NULL    NULL    NULL    NULL    NULL    NULL    2023-06-27 16:05:22 NULL    NULL
10  9903967165  closed  Ms. Napoleon Walker eod 795 NULL    NULL    NULL    NULL    NULL    NULL    2023-10-07 13:42:24 NULL    NULL
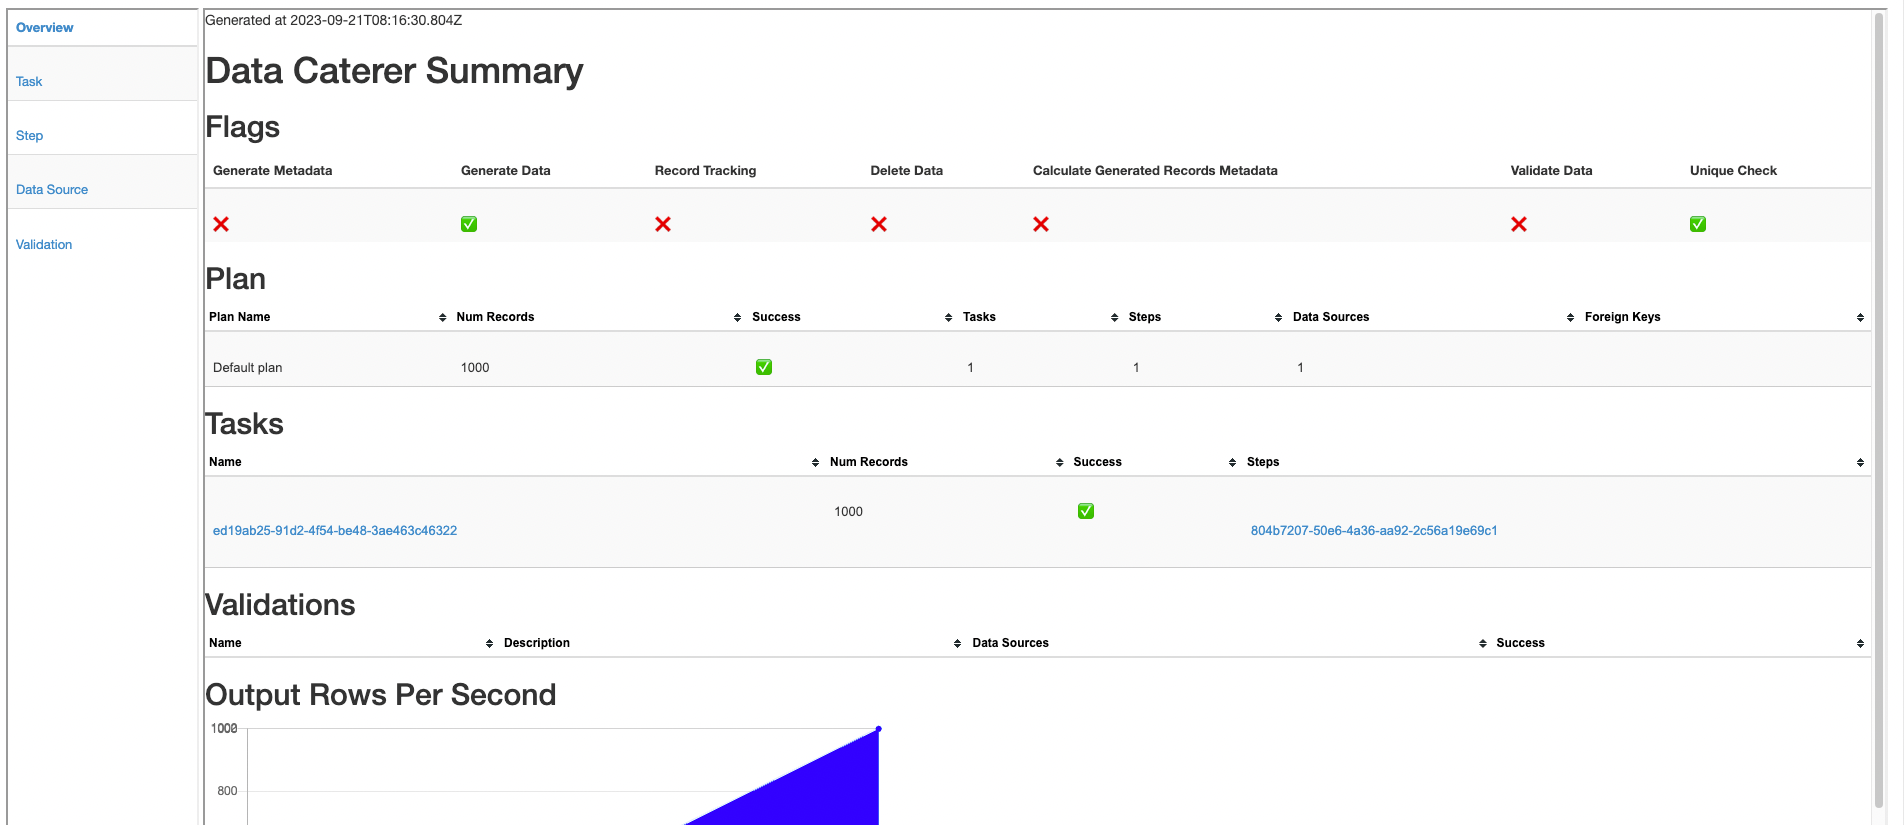
Also check the HTML report, found at docker/sample/report/index.html, that gets generated to get an overview of what
was executed.
Validation
If you want to validate data from MySQL, follow the validation documentation found here to help guide you.